Is your bathroom lighting stuck in the dark ages? Dim, outdated fixtures not only detract from your bathroom's aesthetic but can also be a safety hazard, especially in a moisture-rich environment. Upgrading to recessed lighting is a fantastic way to brighten your space, improve energy efficiency, and add a touch of modern elegance.
Properly wiring recessed lighting in a bathroom goes beyond simply connecting a few wires. It's about ensuring the safety of your home and family. Moisture and electricity are a dangerous combination, making correct wiring practices and the use of Ground Fault Circuit Interrupter (GFCI) protection absolutely critical. Incorrect wiring can lead to short circuits, electrical fires, and even electrocution. Investing the time to understand the process and following best practices will ensure a safe and functional bathroom for years to come. Plus, energy-efficient wiring and LED recessed lights can significantly reduce your energy bills.
Before you even think about picking up a screwdriver, remember this: safety first! Always turn off the power at the circuit breaker before working on any electrical circuits. Double-check with a non-contact voltage tester to confirm the circuit is dead. When working in a bathroom, GFCI outlets are non-negotiable. Make sure your lighting circuit is protected by a GFCI breaker or outlet. If you're unsure about any aspect of the wiring process, don't hesitate to call a qualified electrician. Your safety and the safety of your home are worth the investment.
How to Wire Bathroom Recessed Lighting
Installing recessed lighting in your bathroom can dramatically improve its ambiance and functionality. This guide will walk you through the process, step-by-step, focusing on safety and proper wiring techniques. Remember, if you’re uncomfortable with any part of this process, it’s always best to consult a qualified electrician.
Planning Your Bathroom Lighting Layout
Before you start cutting holes in your ceiling, careful planning is essential. Consider the size of your bathroom, the existing layout, and the desired level of brightness.
Determine the Number of Lights: A good rule of thumb is to use one recessed light per 4-6 square feet of ceiling space. Choose the Right Size and Type of Lights: 4-inch or 6-inch recessed lights are common in bathrooms. Look for fixtures specifically designed for wet locations (marked with "Wet Location" or "Shower Location" UL listing). LED recessed lights are highly recommended for their energy efficiency and long lifespan. Consider the Placement: Position lights strategically to illuminate key areas like the shower, vanity, and toilet. Avoid placing lights directly above the showerhead unless they are rated for that specific application. Check for Obstructions: Before cutting any holes, use a stud finder to locate ceiling joists, pipes, and wires. You don't want to accidentally cut into something important!
Gathering Your Tools and Materials
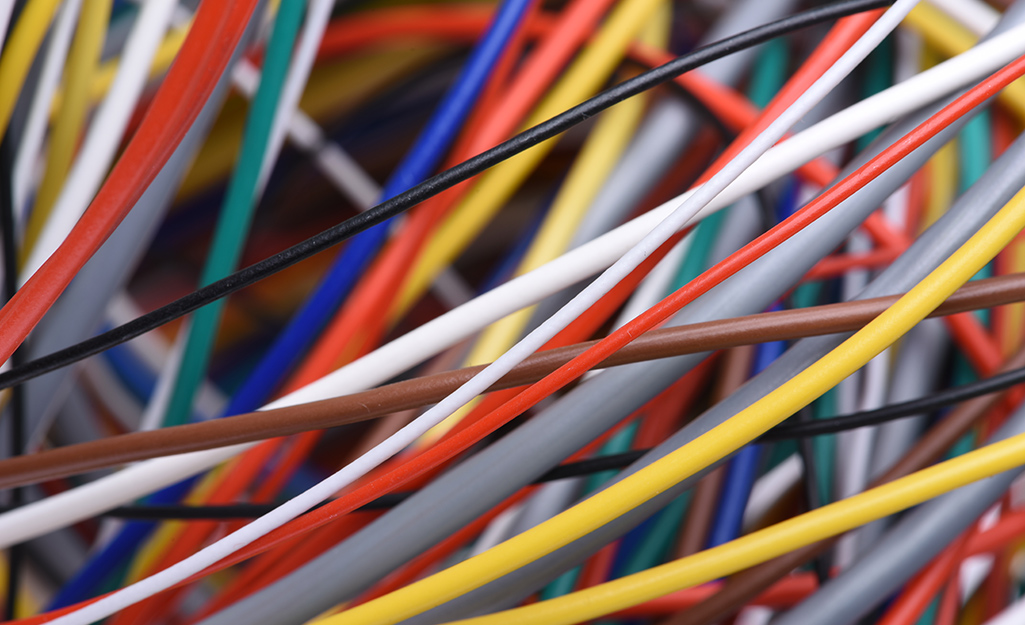
Having the right tools and materials on hand will make the installation process much smoother. Here’s a checklist: Recessed Lighting Fixtures (Wet Location Rated) Wiring: 14/2 or 12/2 Non-Metallic (NM) cable (Romex) – Consult local codes for the correct gauge. Wire Strippers Wire Connectors (Wire Nuts) Pliers Screwdrivers (Phillips and Flathead) Non-Contact Voltage Tester Stud Finder Drywall Saw or Hole Saw Measuring Tape Pencil Safety Glasses Gloves Ladder GFCI Outlet or Breaker (if not already installed on the circuit)
Step-by-Step Wiring Instructions
Now, let's get to the actual wiring. Remember to turn off the power at the circuit breaker before starting!
1.Mark the Location of Each Light:Use your plan to mark the exact location of each recessed light on the ceiling.
2.Cut the Holes: Use a drywall saw or hole saw to cut the holes for the recessed lights. Be careful not to cut any wires or pipes.
3.Run the Wiring: Run the NM cable from the existing electrical box to the first recessed light location. Secure the cable to the ceiling joists using cable staples.
4.Wire the First Light:
Connect the Ground Wire: Connect the bare copper ground wire from the NM cable to the green ground screw in the recessed light junction box.
Connect the Neutral Wire: Connect the white neutral wire from the NM cable to the white wire in the recessed light junction box using a wire connector.
Connect the Hot Wire: Connect the black hot wire from the NM cable to the black wire in the recessed light junction box using a wire connector.
5.Wire Subsequent Lights: Repeat step 4 for each additional recessed light, running NM cable from one light to the next. Think of this as a daisy chain, where the power flows from the source to each light in sequence.
6.Connect to the Power Source: At the existing electrical box, connect the NM cable from the first recessed light to the existing wiring.
Ground: Connect the bare copper ground wire to the ground bus bar in the electrical box.
Neutral: Connect the white neutral wire to the neutral bus bar in the electrical box.
Hot: Connect the black hot wire to the circuit breaker.
7.Install the Recessed Light Fixtures: Follow the manufacturer's instructions to install the recessed light fixtures into the holes you cut. This usually involves clipping or screwing the fixture into place.
8.Test the Lights: Turn the power back on at the circuit breaker and test the lights to make sure they are working properly.
Understanding GFCI Protection in Bathrooms
Bathrooms are considered "wet locations," which means they require Ground Fault Circuit Interrupter (GFCI) protection. A GFCI is a safety device that monitors the electrical current flowing in a circuit. If it detects a difference between the incoming and outgoing current (as little as 5 milliamps), it will quickly shut off the power to prevent electrical shock.
Why is GFCI protection important in bathrooms? Because water is an excellent conductor of electricity, the risk of electrical shock is significantly higher in bathrooms. A GFCI can save lives by quickly cutting off the power in the event of a ground fault. How do I provide GFCI protection for my bathroom lighting circuit? You can either install a GFCI outlet on the circuit or use a GFCI circuit breaker. If you choose to use a GFCI outlet, it must be the first outlet in the circuit. This means that all subsequent outlets and fixtures on that circuit will also be protected by the GFCI. How do I test a GFCI outlet or breaker? Most GFCI outlets and breakers have a "Test" button. Pressing this button should trip the GFCI and cut off the power. If the GFCI doesn't trip when you press the test button, it's not working properly and needs to be replaced.
Choosing the Right Wire Gauge for Bathroom Lighting
The wire gauge refers to the thickness of the wires used in your electrical circuits. The correct wire gauge is crucial for safety and preventing overheating.
What wire gauge should I use for bathroom lighting? The most common wire gauges used for lighting circuits are 14-gauge and 12-gauge. 14-gauge wire is typically used for 15-amp circuits, while 12-gauge wire is used for 20-amp circuits. How do I determine the correct wire gauge for my bathroom lighting circuit? The correct wire gauge depends on the amperage of the circuit breaker that supplies power to the circuit. If your circuit breaker is rated for 15 amps, you should use 14-gauge wire. If your circuit breaker is rated for 20 amps, you should use 12-gauge wire. What happens if I use the wrong wire gauge? Using a wire gauge that is too small for the amperage of the circuit can cause the wires to overheat, which can lead to a fire. Using a wire gauge that is too large is generally safe, but it's also unnecessary and can make the wiring more difficult.
People Also Ask: Common Bathroom Wiring Questions
Can I install recessed lighting myself?
While it’s possible for experienced DIYers to install recessed lighting, electrical work can be dangerous. If you’re not comfortable working with electricity, it’s best to hire a qualified electrician. Home electrical safety should always be your top priority.
How much does it cost to install recessed lighting in a bathroom?
The cost can vary depending on the number of lights, the complexity of the wiring, and whether you hire an electrician. Factor in the cost of the fixtures themselves, wiring, and any necessary permits. Getting a few quotes from local electricians can help you budget effectively.
Do I need a permit for recessed lighting installation?
In most jurisdictions, you will need a permit for electrical work, including installing recessed lighting. Check with your local building department to find out the specific requirements in your area. Obtaining a permit ensures that the work is inspected and meets safety codes.
Maximizing Energy Efficiency in Your Bathroom Lighting
Beyond safety, consider the energy efficiency of your bathroom lighting. Energy-efficient wiring coupled with the right fixtures can save you money and reduce your environmental impact.
LED Lighting: As mentioned earlier, LED recessed lights are the way to go. They use significantly less energy than traditional incandescent or halogen bulbs, and they last much longer. Dimmers: Installing dimmers allows you to adjust the brightness of your lights to suit your needs. This can further reduce energy consumption and create a more relaxing ambiance. Motion Sensors:Consider using motion sensors for bathroom lighting. This will automatically turn the lights on when someone enters the bathroom and turn them off when they leave, preventing unnecessary energy waste.
Wiring recessed lighting in your bathroom is a project that requires careful planning, attention to detail, and a strong focus on safety. By following these steps and taking the necessary precautions, you can transform your bathroom into a brighter, more functional, and more energy-efficient space. Don't be afraid to tackle this project yourself, but always remember to prioritize safety above all else. If you're ever unsure about any aspect of the process, don't hesitate to call a qualified electrician. With a little patience and the right knowledge, you can achieve professional-looking results and enjoy the benefits of beautiful, well-lit bathroom for years to come.

Posting Komentar